Sunday, 13 February 2011

Valentine Nails


konad plate M59 with miss sporty pink polish over a sparkly white base and a touch of glitter polish

Thursday, 25 November 2010

Cath Kidston inspired


It's been a while since I updated my nail blog, but this is a polish I did for my friend, after we had been shopping in the Cath Kidston store.


This is the pattern that inspired the nails. I fancy trying to recreate more Cath Kidston patterns as they are all gorgeous.
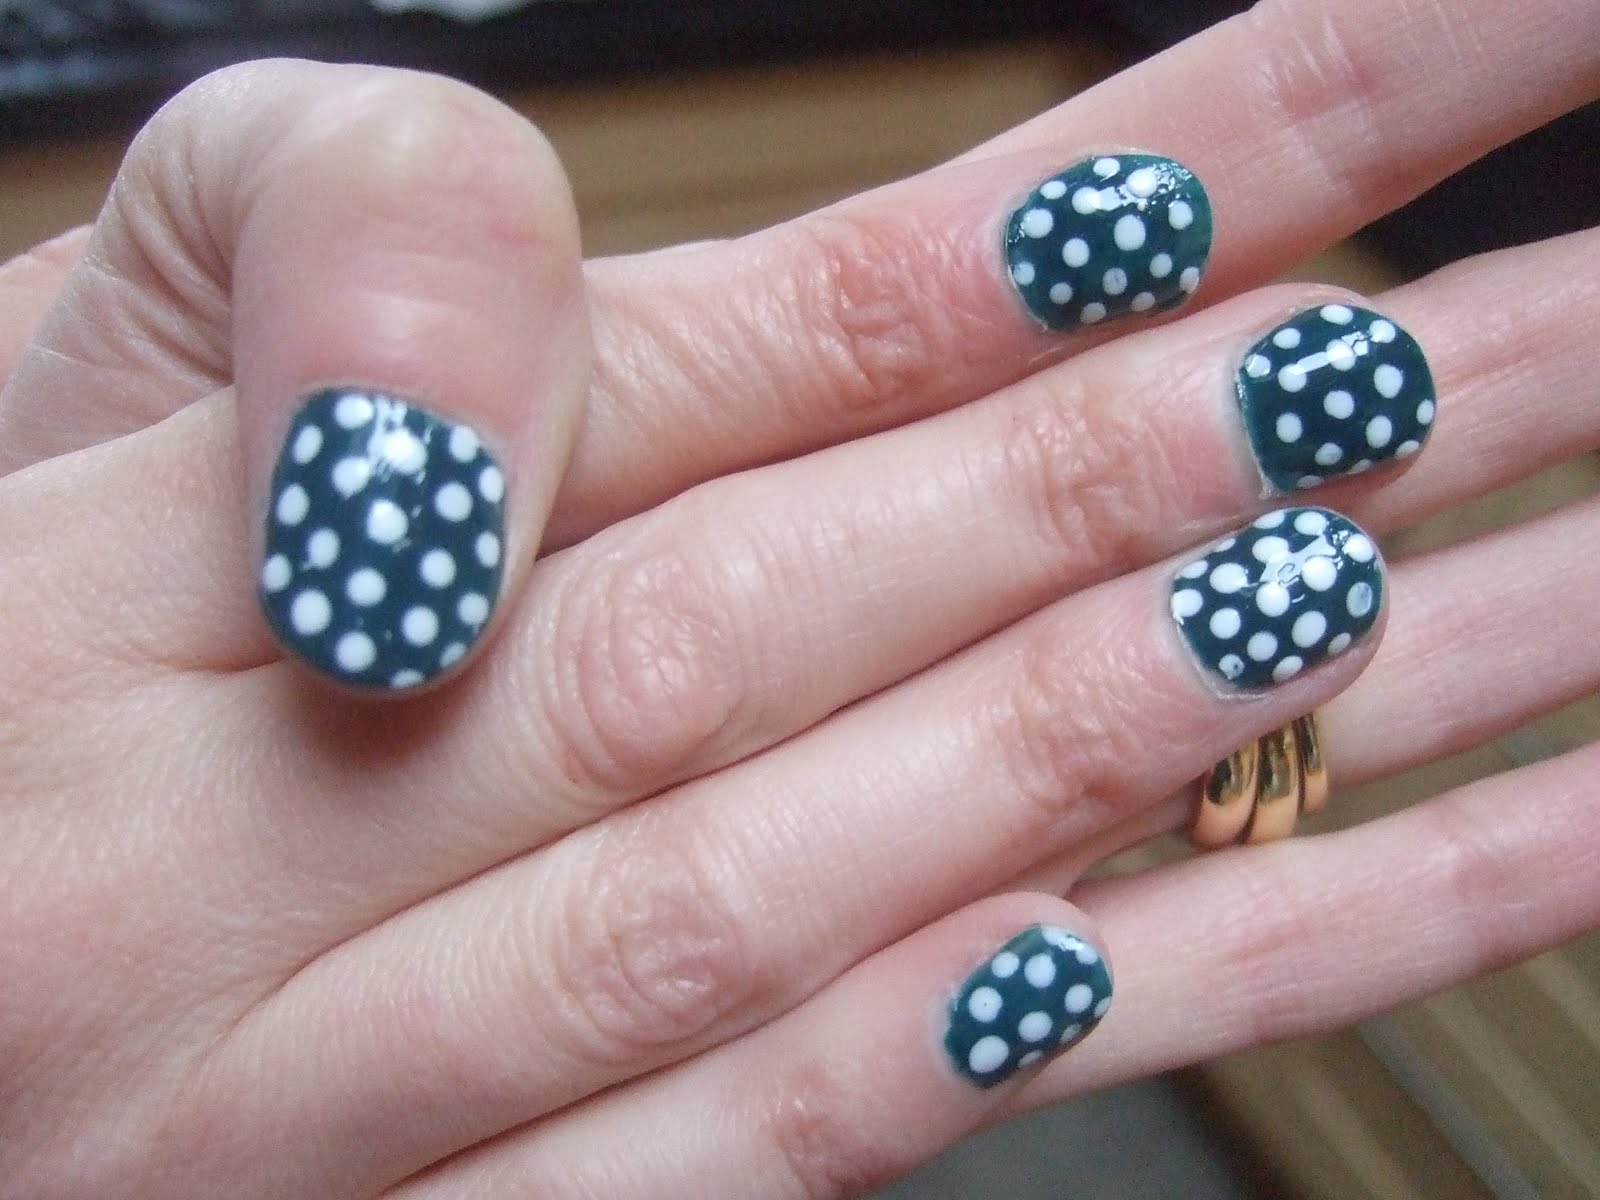
The dots we done with dotting tool (otherwise known as an embossing stylus to us papercrafters!

Sunday, 22 August 2010

oooo sparkly!


This was just a simple twist on a french manicure. I painted my nails with a pale pink then sponged on silver and then silver glitter then I konad stamped some flowers in white

Sunday, 15 August 2010

Minnie Mouse Manicure


At least that's what this design makes me think of. I was playing about with dots as I had spotted that a dotting tool looks suspiciously like an embossing tool/stylus, and I certainly have a couple of those. And they really do work.

french pedicure with konad stamping and bling


excuse the messiness. why does it always look worse on photos than in real life??

Wednesday, 28 July 2010

orange and pink two tone nails


This is another nail done with sponging, and then stamped in red with konad M51. I have only done my thumb as I was just experimenting with the colour, and then I had to take it off to go to work. Working in healthcare means short nails, no nail varnish. but when I'm not at work I can do what I like with my nails!!

watery themed tonails


I really love these toenails. Quite a lot involved in doing these, but nothing difficult.
I used a green base (miss sporty) then I used a cosmetic sponge (I use a cheap exfoliating sponge from poundland) to sponge on a shimmery turquoise (also miss sporty) to create an airbrush two-tone effect.
I used konad plate m51 and blue special polish for the flowers. A touch of sparkly glitter polish (GOSH).
then when this has all dried (you must leave the stamping longer than you think else it will smear) apply a clear top coat and place a gem on the wet top coate. leave to dry, then drip one drop of clear top coat onto the gem to seal it in place.